Zsh es un potente intérprete de comandos ideal para sysadmins y entornos cloud. En esta guía te mostramos cómo instalar Zsh, personalizarlo con los temas Agnoster y Powerlevel10k, e instalar los plugins adecuados para una experiencia óptima en la terminal.
1. Instalar Zsh y Oh-My-Zsh
Para empezar, debes instalar Zsh y el framework Oh-My-Zsh, que facilita la personalización de Zsh mediante temas y plugins.
-
Abre una terminal en Ubuntu.
-
Ejecuta los siguientes comandos para instalar Zsh y el paquete
locales-all(necesario para algunos temas que dependen de la configuración de localización):
sudo apt update
sudo apt install zsh locales-all -y
Instala Oh-My-Zsh mediante curl para gestionar fácilmente tus temas y plugins:
sh -c "$(curl -fsSL https://raw.github.com/robbyrussell/oh-my-zsh/master/tools/install.sh)"
2. Configurar Plugins en Zsh
Uno de los puntos fuertes de Oh-My-Zsh es su compatibilidad con plugins. Vamos a instalar zsh-syntax-highlighting, un plugin que resalta la sintaxis mientras escribes en la terminal, facilitando la detección de errores.
git clone https://github.com/zsh-users/zsh-syntax-highlighting.git ${ZSH_CUSTOM:-~/.oh-my-zsh/custom}/plugins/zsh-syntax-highlighting

git clone https://github.com/zsh-users/zsh-autosuggestions.git $ZSH_CUSTOM/plugins/zsh-autosuggestions
Edita el archivo de configuración de Zsh (~/.zshrc) para activar el plugin:
vi ~/.zshrc
Añade git, zsh-autosuggestions y zsh-syntax-highlighting al listado de plugins:
plugins=(git zsh-autosuggestions zsh-syntax-highlighting)
Guarda y cierra el archivo de configuración.
3. Opcion 1: Configurar el Tema «Agnoster»
El tema «Agnoster» es una opción popular por su diseño minimalista y elegante, que incluye iconos e información útil sobre el estado de la terminal.
ZSH_THEME="agnoster"
Para facilitar futuras ediciones del archivo de configuración, puedes definir un alias:
alias zshconfig="vi ~/.zshrc"
4. Personalizar el Tema «Agnoster»
En algunos casos, el tema «Agnoster» muestra demasiada información, como el usuario y el hostname, lo que puede ser redundante en sistemas locales. A continuación, te muestro cómo eliminar esa información del prompt.
cd ~/.oh-my-zsh/themes
Abre el archivo del tema con tu editor preferido:
vi agnoster.zsh-theme
Busca la función prompt_context y elimina la referencia a %n@%m (nombre de usuario y hostname). El bloque de código debe quedar así después de la modificación:
Antes del cambio:
prompt_context() {
  if [[ "$USERNAME" != "$DEFAULT_USER" || -n "$SSH_CLIENT" ]]; then
    prompt_segment black default "%(!.%{%F{yellow}%}.)"
  fi
}
Después del cambio:
prompt_context() {
  if [[ "$USERNAME" != "$DEFAULT_USER" || -n "$SSH_CLIENT" ]]; then
    prompt_segment black default "%(!.%{%F{yellow}%}.)"
  fi
}
Guarda los cambios y cierra el archivo.
A continuación, dejo como quedarían las características en el archivo
# If you come from bash you might have to change your $PATH.
# export PATH=$HOME/bin:$HOME/.local/bin:/usr/local/bin:$PATH

# Path to your Oh My Zsh installation.
export ZSH="$HOME/.oh-my-zsh"

# Set name of the theme to load --- if set to "random", it will
# load a random theme each time Oh My Zsh is loaded, in which case,
# to know which specific one was loaded, run: echo $RANDOM_THEME
# See https://github.com/ohmyzsh/ohmyzsh/wiki/Themes
ZSH_THEME="agnoster"

# Set list of themes to pick from when loading at random
# Setting this variable when ZSH_THEME=random will cause zsh to load
# a theme from this variable instead of looking in $ZSH/themes/
# If set to an empty array, this variable will have no effect.
# ZSH_THEME_RANDOM_CANDIDATES=( "robbyrussell" "agnoster" )

# Uncomment the following line to use case-sensitive completion.
# CASE_SENSITIVE="true"

# Uncomment the following line to use hyphen-insensitive completion.
# Case-sensitive completion must be off. _ and - will be interchangeable.
# HYPHEN_INSENSITIVE="true"

# Uncomment one of the following lines to change the auto-update behavior
# zstyle ':omz:update' mode disabled  # disable automatic updates
# zstyle ':omz:update' mode auto      # update automatically without asking
# zstyle ':omz:update' mode reminder  # just remind me to update when it's time

# Uncomment the following line to change how often to auto-update (in days).
# zstyle ':omz:update' frequency 13

# Uncomment the following line if pasting URLs and other text is messed up.
DISABLE_MAGIC_FUNCTIONS="true"

# Uncomment the following line to disable colors in ls.
# DISABLE_LS_COLORS="true"

# Uncomment the following line to disable auto-setting terminal title.
# DISABLE_AUTO_TITLE="true"

# Uncomment the following line to enable command auto-correction.
# ENABLE_CORRECTION="true"

# Uncomment the following line to display red dots whilst waiting for completion.
# You can also set it to another string to have that shown instead of the default red dots.
# e.g. COMPLETION_WAITING_DOTS="%F{yellow}waiting...%f"
# Caution: this setting can cause issues with multiline prompts in zsh < 5.7.1 (see #5765)
# COMPLETION_WAITING_DOTS="true"

# Uncomment the following line if you want to disable marking untracked files
# under VCS as dirty. This makes repository status check for large repositories
# much, much faster.
# DISABLE_UNTRACKED_FILES_DIRTY="true"

# Uncomment the following line if you want to change the command execution time
# stamp shown in the history command output.
# You can set one of the optional three formats:
# "mm/dd/yyyy"|"dd.mm.yyyy"|"yyyy-mm-dd"
# or set a custom format using the strftime function format specifications,
# see 'man strftime' for details.
# HIST_STAMPS="mm/dd/yyyy"

# Would you like to use another custom folder than $ZSH/custom?
# ZSH_CUSTOM=/path/to/new-custom-folder

# Which plugins would you like to load?
# Standard plugins can be found in $ZSH/plugins/
# Custom plugins may be added to $ZSH_CUSTOM/plugins/
# Example format: plugins=(rails git textmate ruby lighthouse)
# Add wisely, as too many plugins slow down shell startup.
plugins=(git zsh-syntax-highlighting)

source $ZSH/oh-my-zsh.sh

# User configuration

# export MANPATH="/usr/local/man:$MANPATH"

# You may need to manually set your language environment
# export LANG=en_US.UTF-8

# Preferred editor for local and remote sessions
# if [[ -n $SSH_CONNECTION ]]; then
#   export EDITOR='vim'
# else
#   export EDITOR='nvim'
# fi

# Compilation flags
# export ARCHFLAGS="-arch $(uname -m)"

# Set personal aliases, overriding those provided by Oh My Zsh libs,
# plugins, and themes. Aliases can be placed here, though Oh My Zsh
# users are encouraged to define aliases within a top-level file in
# the $ZSH_CUSTOM folder, with .zsh extension. Examples:
# - $ZSH_CUSTOM/aliases.zsh
# - $ZSH_CUSTOM/macos.zsh
# For a full list of active aliases, run `alias`.
#
# Example aliases
# alias zshconfig="mate ~/.zshrc"
# alias ohmyzsh="mate ~/.oh-my-zsh"
Instalar Fuentes para una Mejor Visualización
El tema «Agnoster» utiliza símbolos especiales que requieren fuentes tipográficas específicas. Para que la apariencia sea correcta, instala las fuentes necesarias:
git clone https://github.com/powerline/fonts
Instala las fuentes ejecutando el script de instalación:
cd fonts
./install.sh
Instala las fuentes adicionales necesarias para algunos terminales:
sudo apt-get install fonts-powerline fonts-hack-ttf
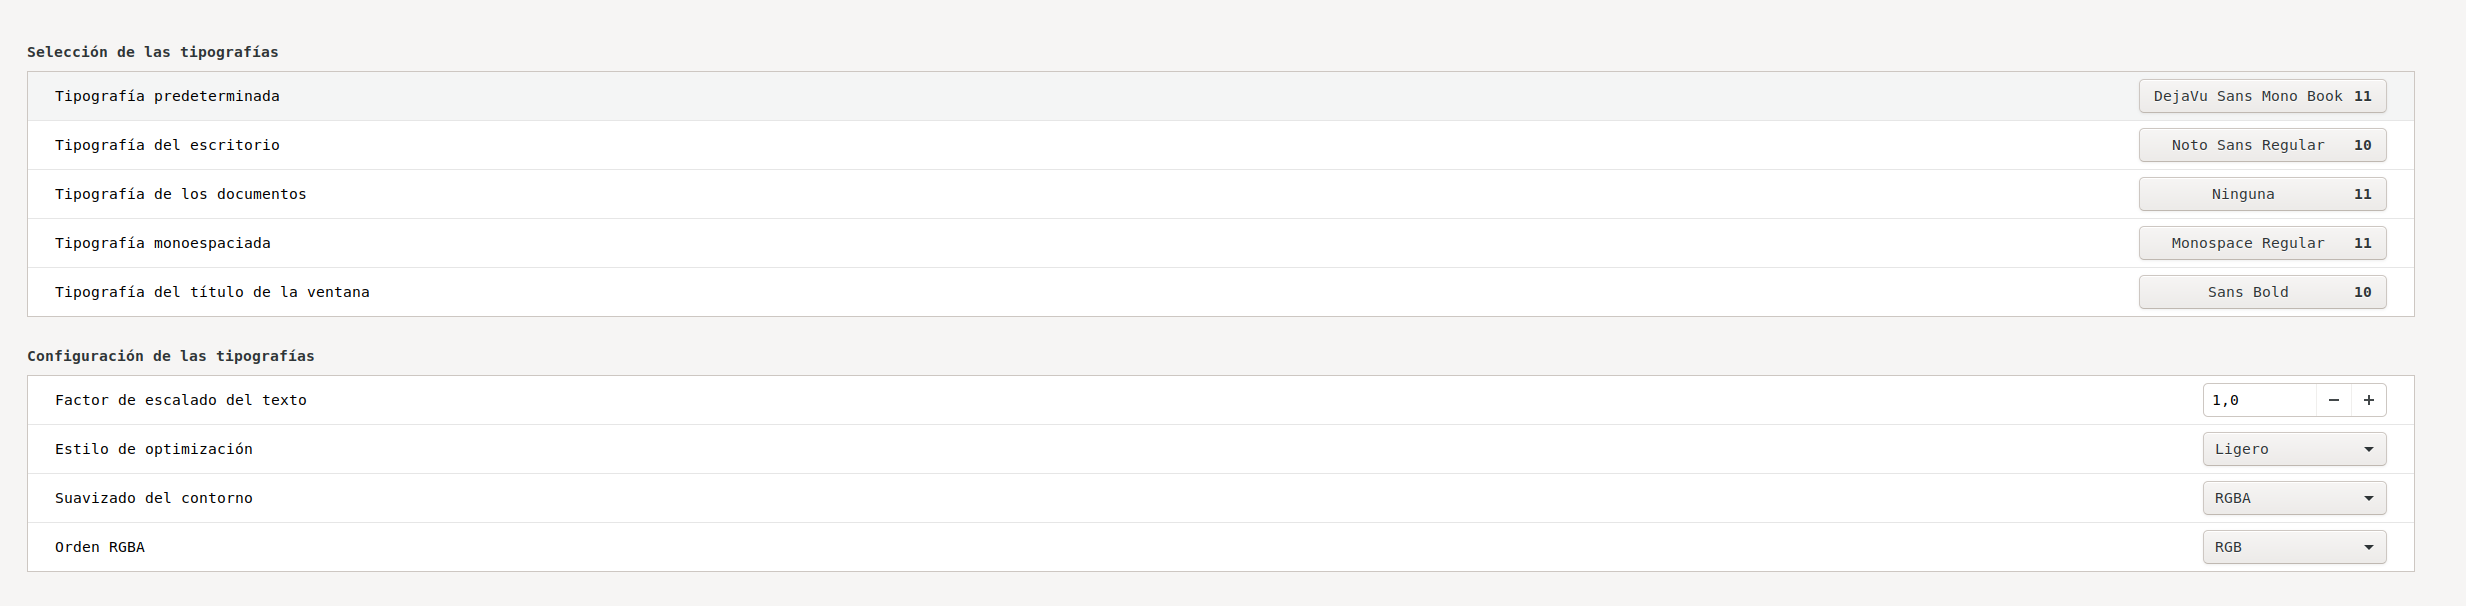
Por ultimo, cambiamos la tipografía
4. Opcion 2: Configurar el Tema «Powerlevel10k»
Como alternativa a Agnoster, puedes optar por el tema Powerlevel10k, que ofrece una mayor personalización y un rendimiento mejorado.
4.1. Descargar las Fuentes Meslo LG
Powerlevel10k requiere fuentes específicas para mostrar correctamente los iconos y símbolos. Descargaremos las fuentes Meslo LG necesarias.
wget https://github.com/romkatv/powerlevel10k-media/raw/master/MesloLGS%20NF%20Regular.ttf -P ~/.local/share/fonts
wget https://github.com/romkatv/powerlevel10k-media/raw/master/MesloLGS%20NF%20Bold.ttf -P ~/.local/share/fonts
wget https://github.com/romkatv/powerlevel10k-media/raw/master/MesloLGS%20NF%20Italic.ttf -P ~/.local/share/fonts
wget https://github.com/romkatv/powerlevel10k-media/raw/master/MesloLGS%20NF%20Bold%20Italic.ttf -P ~/.local/share/fonts
4.2. Clonar el Repositorio de Powerlevel10k
git clone --depth=1 https://github.com/romkatv/powerlevel10k.git ${ZSH_CUSTOM:-$HOME/.oh-my-zsh/custom}/themes/powerlevel10k
4.3. Configurar Powerlevel10k como Tema
vi ~/.zshrc
Modificar la línea del tema para utilizar Powerlevel10k:
ZSH_THEME="powerlevel10k/powerlevel10k"
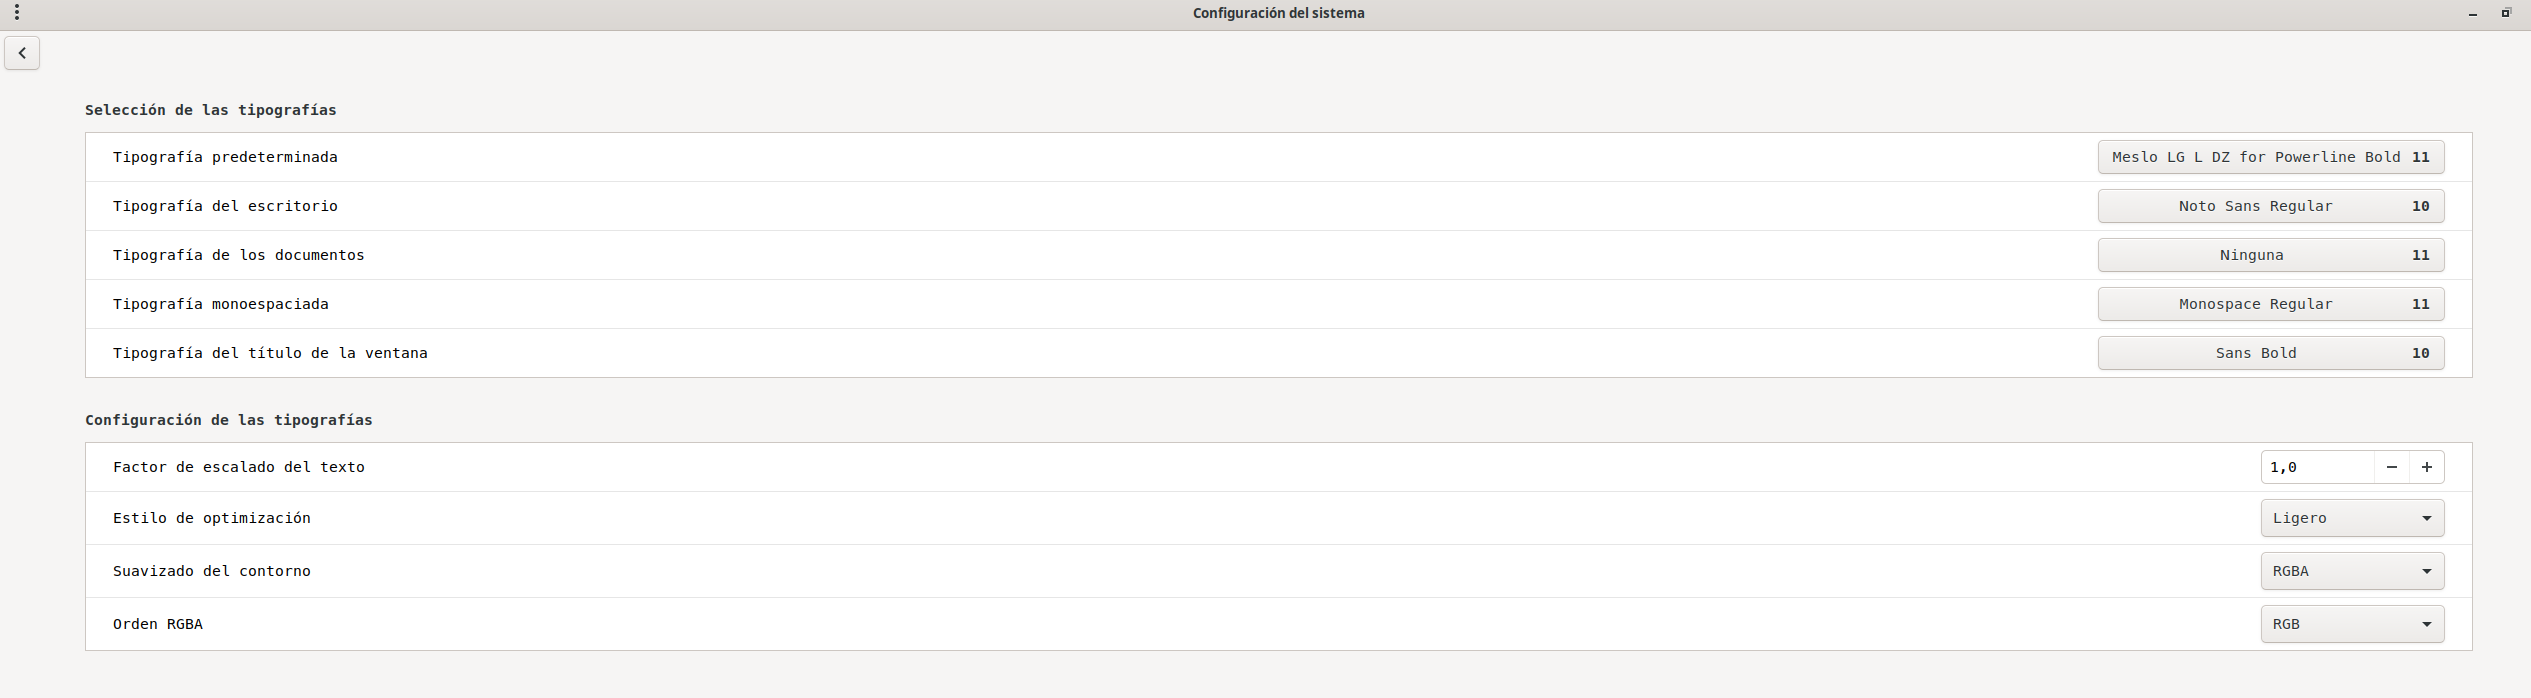
4.4. Configurar las Fuentes Meslo LG en tu Terminal
Asegúrate de que tu terminal (por ejemplo, GNOME Terminal, iTerm2, etc.) esté configurado para usar una de las fuentes Meslo LG instaladas.
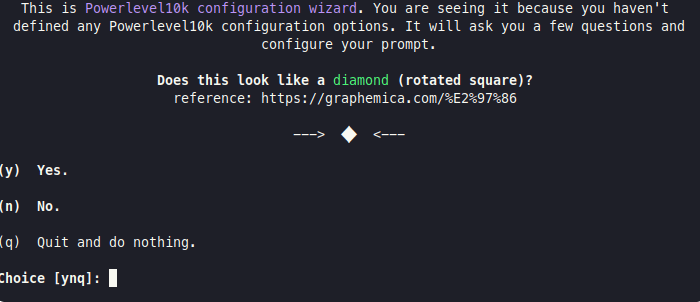
4.5. Reiniciar Zsh y Configurar Powerlevel10k
source ~/.zshrc
Se abrirá el asistente de configuración de Powerlevel10k. Sigue las instrucciones en pantalla para personalizar tu prompt según tus preferencias.
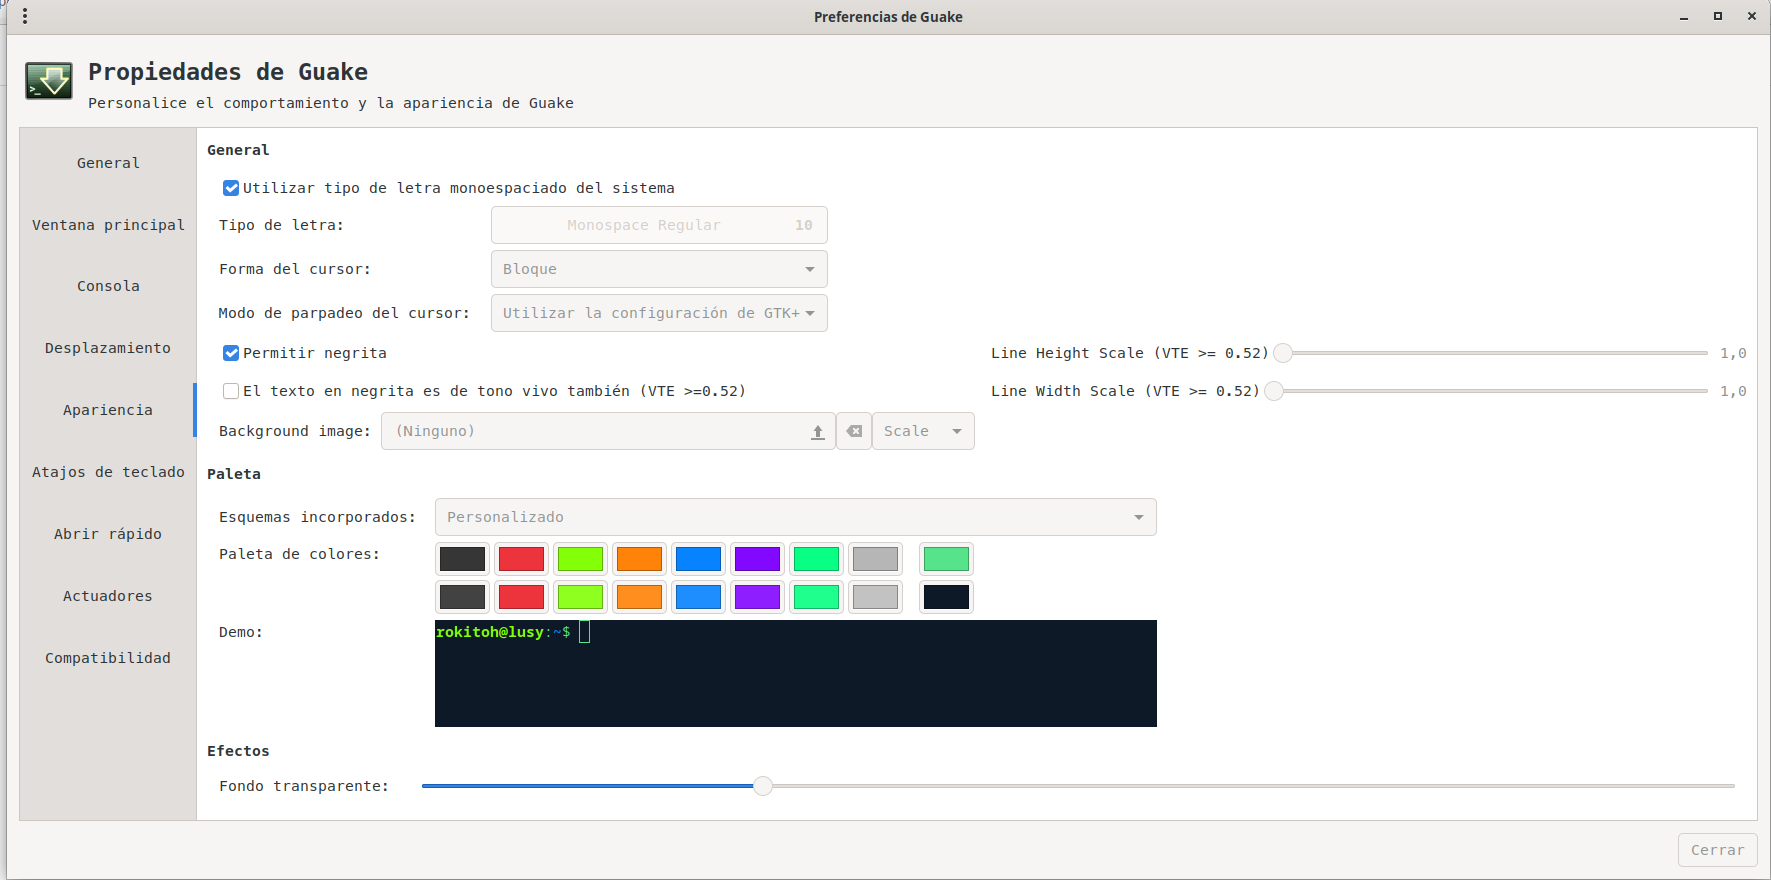
Opcional: Configurar los colores en el terminal Guake para una mejor apariencia:
Ejemplo promt
5. Establecer Zsh como Shell por Defecto
Para asegurarte de que Zsh se inicie de manera predeterminada en futuras sesiones, cambia el shell por defecto a Zsh con el siguiente comando:
chsh -s $(which zsh)Reiniciar la Terminal
Una vez que hayas completado todos los pasos anteriores, cierra y vuelve a abrir tu terminal para aplicar los cambios.
:wq!